
Installationguide.
The same procedure that ships in the box. Applies to every pack we build — sodium ion, LTO and NMC — with the differences called out where they matter.
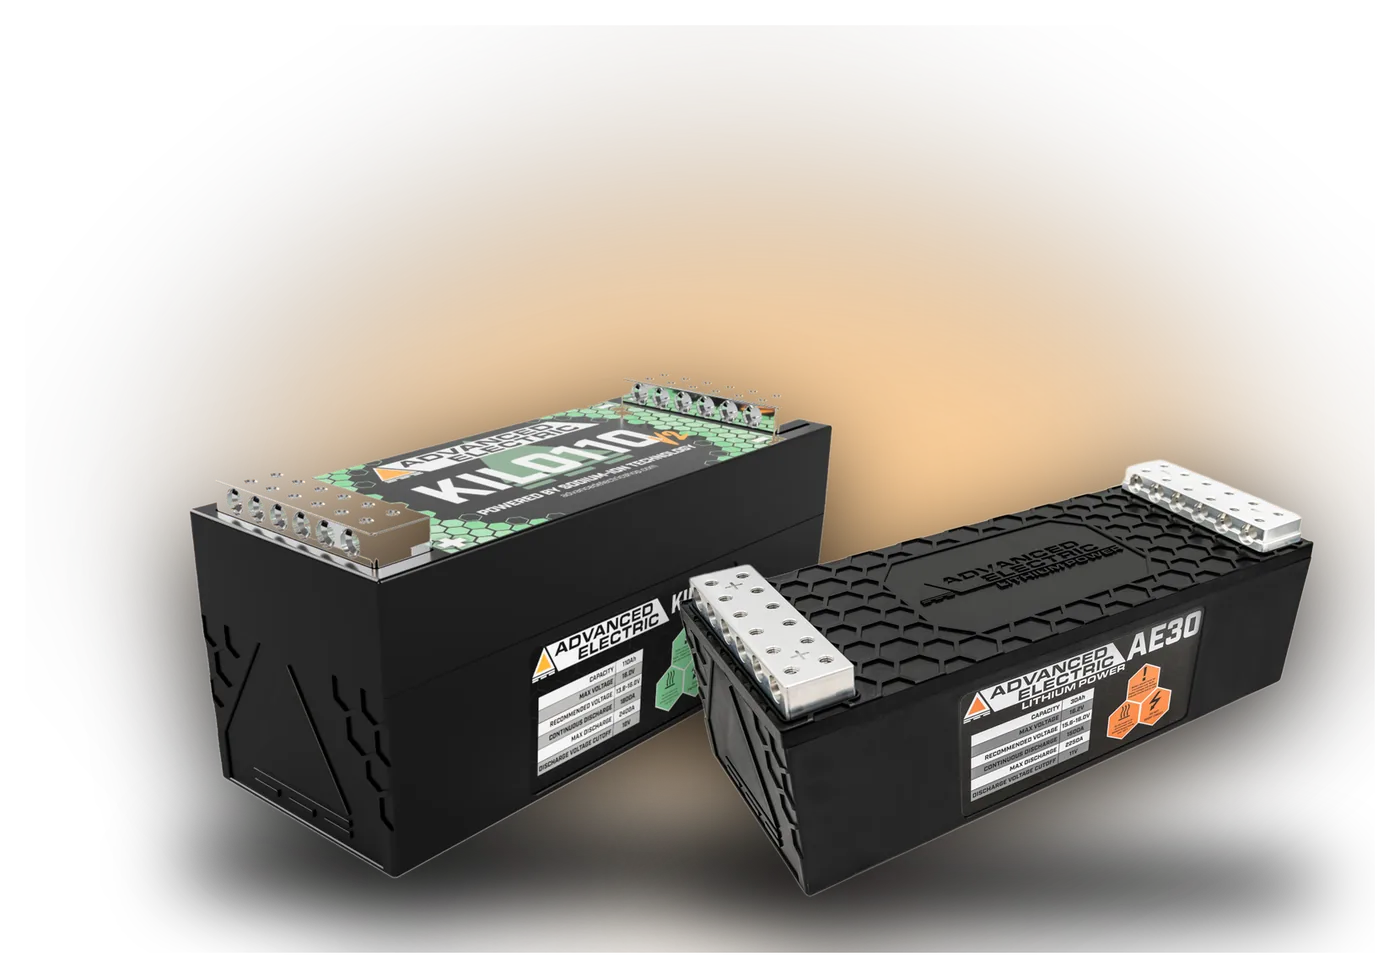
⚠️ Before anything else
Our packs run an active balancer, not a BMS with a cutoff. That means the pack will not shut itself off if voltage goes too low or too high. You are responsible for monitoring voltage. It is a deliberate design choice — nothing in the discharge path means nothing limiting your current — but it means a voltmeter is not optional.
Professional installation recommended
These are high-current devices capable of hundreds to thousands of amps. If you are not confident working on a high-current DC system, have someone who is do the install.
Step 1
Pre-charge and verify
Every pack ships at roughly 30% state of charge for safe transport. A sodium ion pack will read around 11V out of the box. This is expected and it is not a fault.
- Bench-charge to your system voltage before it goes anywhere near the vehicle. 10A is plenty — there is no rush.
- Wait 24 hours and re-check. The voltage should hold. If it has dropped, stop and contact us before installing.
- Confirm your charging voltage against the pack’s window on the Support page. Measure it, do not assume it.
Step 2
Remove the old battery
- Power the vehicle and the system down completely.
- Disconnect NEGATIVE first, then positive. This order matters — a tool touching chassis while positive is still connected is a dead short.
- Remove and dispose of the old battery properly. Lead acid is recyclable; most auto parts stores take them.
Step 3
Mount it properly
Secure it
A 75lb pack that is not properly mounted is a projectile in an accident and a short waiting to happen over a speed bump.
Away from heat
Exhaust, turbo, engine bay heat soak. Our packs tolerate 14–140°F but nothing likes living at the top of its range.
Away from water
Trunk floors flood. Spare wheel wells flood. Mount above any water line.
Terminals accessible
You will need to check voltage and torque again. Plan for that now rather than pulling panels later.
Step 4
Connect
- Cover the terminals you are not working on. At up to 4,000A available, a dropped wrench across the posts vaporises metal. Take your rings and watch off.
- POSITIVE first, then negative. The reverse of removal.
- Torque every lug properly. Finger-tight measures fine cold and falls apart under load.
- Our busbars accept lug and direct wire at the same terminal simultaneously — use both if your build needs it.
- Fuse the run. Fuse as close to the battery as practical.
Step 5
First power-up
- Start the vehicle and confirm charging voltage at the pack.
- Measure again at the amplifier under load. If the amp sees meaningfully less than the battery, you have a wiring or ground problem — see why voltage drops on the hit.
- Play it gently at first and watch voltage behaviour before you lean on it.
- Register your pack with install photos.
By chemistry
Where they differ
| Sodium ion | LTO | NMC (THE DON) | |
|---|---|---|---|
| Charging window | 13.8 – 15.5V | 15.2 – 16.2V | 14.8 – 16.6V |
| Hard limit | 15.5V | 16.2V | 16.6V |
| Minimum | None | 15.2V | 14.8V |
| Alternator | Stock upward | High output, 15.5V+ | 200A minimum |
| Charge below freezing | Avoid | Avoid | Never |
| Mix chemistries | No | No | No |
Never charge LTO below 15.2V
An undercharged LTO pack will not reach rated output, and sustained undercharging damages it. Premature failure caused by undercharging is not covered by warranty. If your system cannot reach 15.2V, you want sodium ion instead.
One chemistry per bank
Sodium and LTO windows barely overlap, and different internal resistance means the stronger pack tries to charge the weaker one. Never mix.
Ongoing
Maintenance
Check voltage
Especially in the first few weeks. You are the BMS — there is no cutoff to catch a problem for you.
Re-torque
Thermal cycling loosens connections. Check terminal torque after the first month, then periodically.
Storage
Cool and dry. Check voltage every 3–6 months and top up if it has drifted down.
Watch for warning signs
Heat at the terminals, dimming, or voltage dropping further than it used to. Stop and diagnose rather than pushing through.